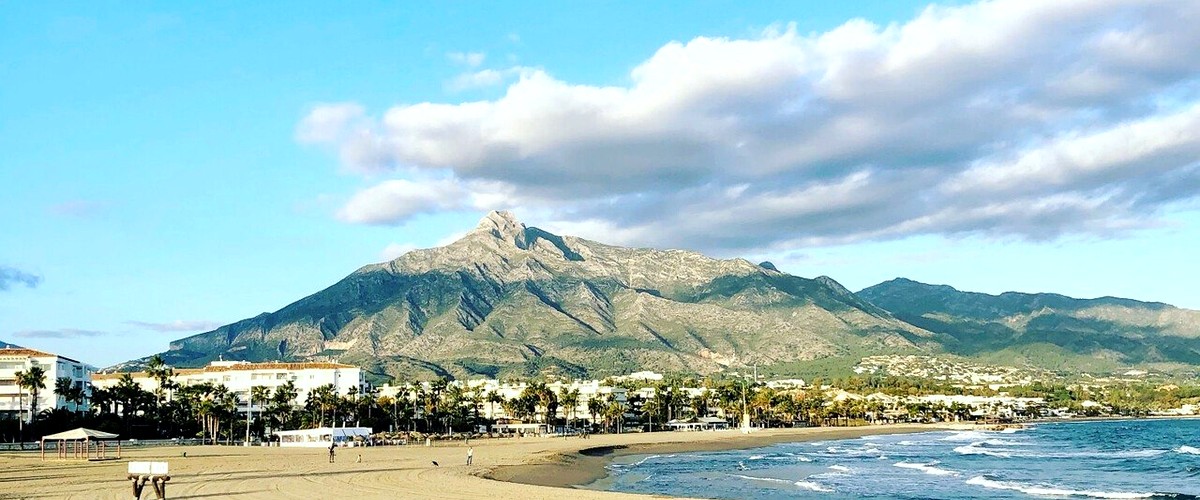
If you are reading this, you have probably spent days staring at La Concha from the beach thinking: "Can I actually climb that?". The answer is yes — but not without knowing what you are getting into.
Hiking the La Concha peak (1,215 m) from the Refugio de Juanar is the most spectacular trail in Marbella. It is also the one with the most rescues every year. The difference between enjoying it and ending up in a helicopter is what you learn in the next 8 minutes.
This guide gives you the step-by-step trail from Juanar, the two critical sections (Salto del Lobo and Chain Pass), when to hike based on the weather and the mistakes 9 out of 10 tourists make. All written by someone who has been hiking it for over 15 years.
✓ Private tour · ✓ Free cancellation 24 h · ✓ Pay later
La Concha (1,215m / 3,986ft) is Marbella's most iconic mountain, the crown of the Sierra Blanca range. From the beach it looks close, almost friendly. That is exactly its greatest danger: people underestimate it.
It records the highest number of mountain rescues in Málaga province. Not because it is technically impossible, but because thousands of tourists arrive each year in flip-flops, half a litre of water, convinced it is just a walk.
With the right preparation, La Concha is an experience that will change the way you see Marbella forever. Without it, it can become an emergency.
| Summit altitude | 1,215 m / 3,986 ft |
| Total distance | ~12 km (round trip) |
| Elevation gain | ~750 m |
| Estimated time | 4–6 hours |
| Difficulty | Medium-high · Technical sections with chains |
| Starting point | Refugio de Juanar car park (Ojén) |
| Mobile coverage | Practically none |
| Cost | Free (parking included) |
Video summary of the guide — the critical points in 5 minutes
Spring (April-May) and autumn (October-November) are the golden months. Temperatures sit between 15-22°C and after the rains the air clears completely — you can see the Rif Mountains of Morocco as if you could reach out and touch them.
La Concha has its own microclimate that does not always match the general Marbella forecast. Before setting out, check the specific forecast for Istán on AEMET — the closest municipality to the summit.
These are the three weather phenomena responsible for most incidents on La Concha:
If you can see clouds "stuck" to the summit from the beach, there will be dense fog on the ridge. It can form in minutes. Visibility drops to zero and the trail disappears — the leading cause of getting lost on La Concha. Keep your GPX track active at all times.
The final ridge acts as a natural wind funnel. With gusts above 40 km/h, staying upright at the Chain Pass is dangerous. If the wind stops you moving safely, that is your turning-back point — La Concha will still be there another day.
There is no shade or water on the entire route. With temperatures above 28°C the risk is real. In July and August, if you decide to go, start before 7:00am and bring at least 3 litres of water per person.
💡 Local rule: If from the beach you can see the summit clear and the wind in Marbella is light, conditions up top are likely good. If there is fog on the ridge or Levante is blowing, wait for the next day.
See what fog on La Concha looks like in real time:
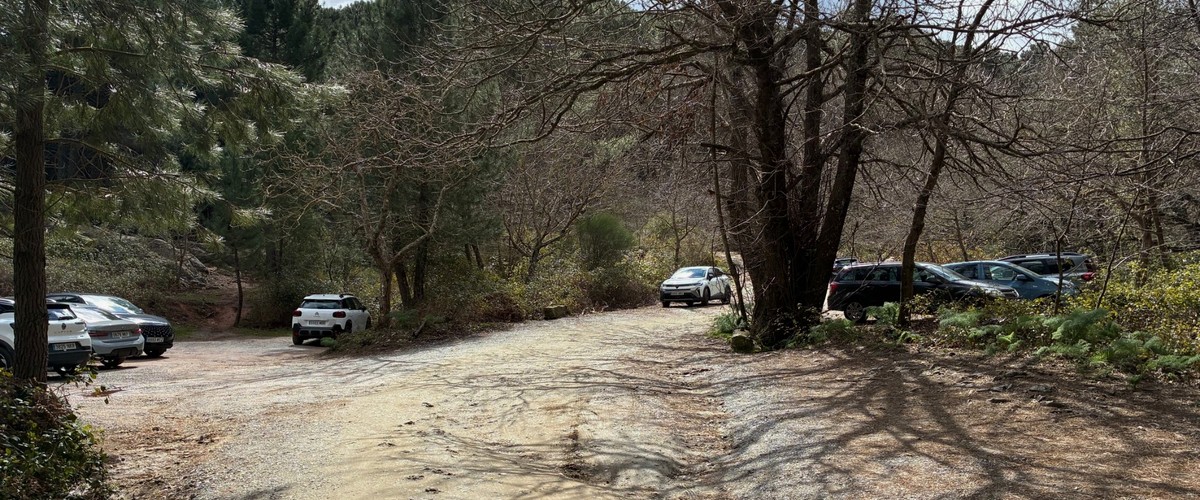
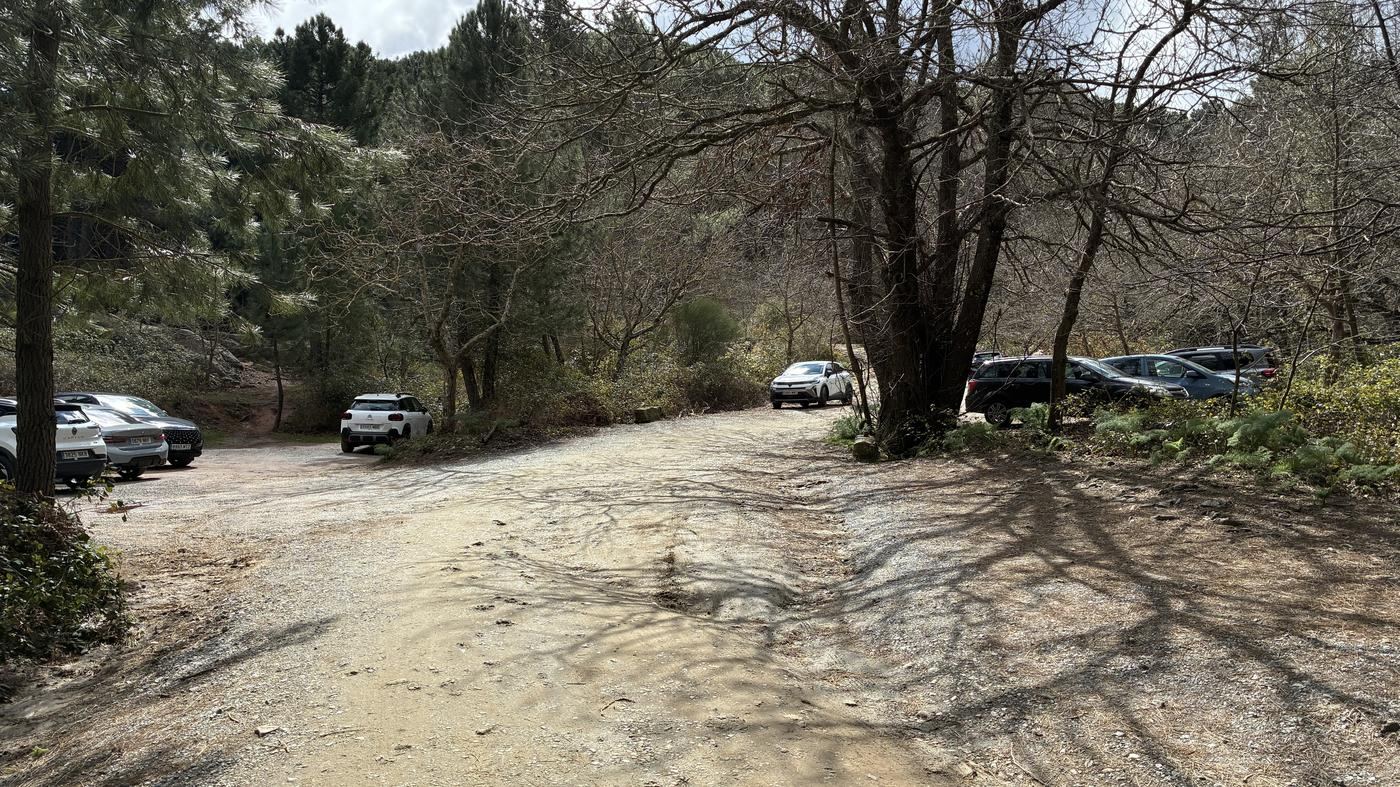
The most popular starting point is the Juanar car park, next to Refugio de Juanar in Ojén. About 20 minutes from Marbella on the A-355 towards Ojén. Parking is free, but on spring weekends it fills up before 9:00am — arrive early or you may have to park several kilometres down the road.
You can also start from Istán on the north face. Steeper from the outset but far less crowded — a good option if you want a more solitary experience.
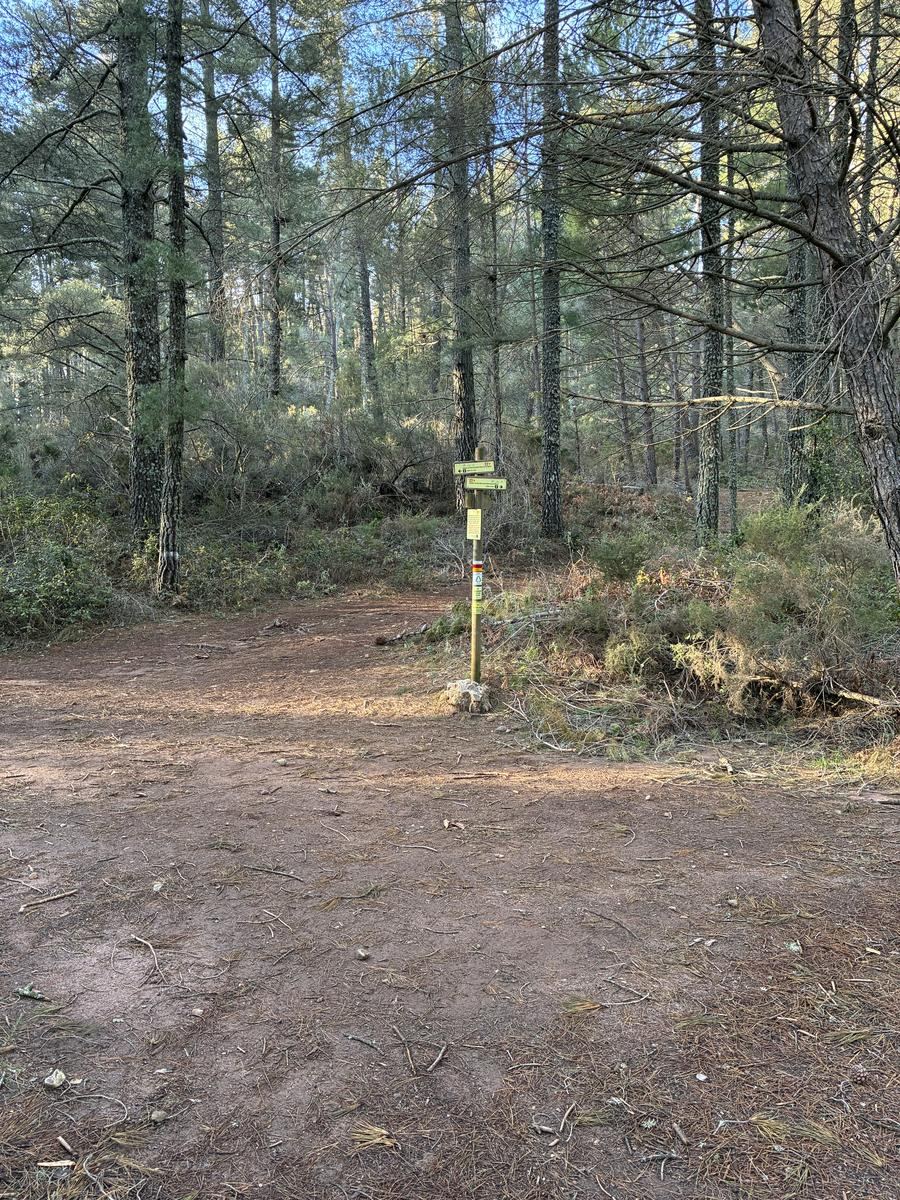
Just past the trail where we have just seen the hippo rock, you reach a junction called "El circo de Juanar". 90% of hikers instinctively go left — that way leads to Mirador del Juanar. If you want La Concha, go straight ahead, up the steeper slope. Getting this wrong costs 30 minutes of energy.
📲 BEFORE YOU READ FURTHER
If you're hiking this week, don't head up there with this page open on your phone. There's no signal up there. Take the full PDF guide + GPX track already downloaded.
Free · No signup · PDF + GPX
The first stretch from the car park is wide and comfortable through olive groves — deceptively easy. Use it to settle into your pace. The gradient increases steadily from here.
The guide details an alternative ascent route that avoids the track entirely, following a trail through a stunning natural environment — passing through a large chestnut grove, a eucalyptus forest, a magnificent Monterey pine wood, a natural monument and alongside a cave.
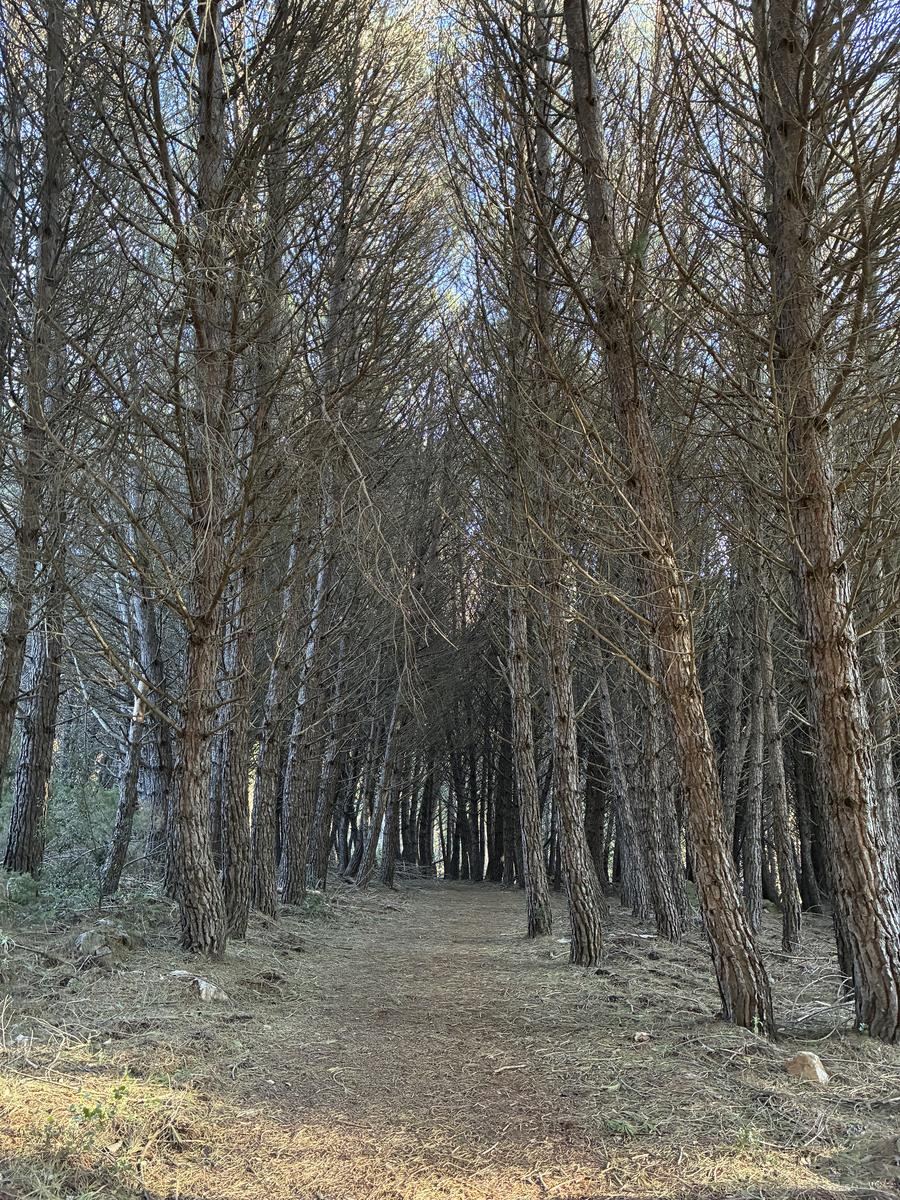
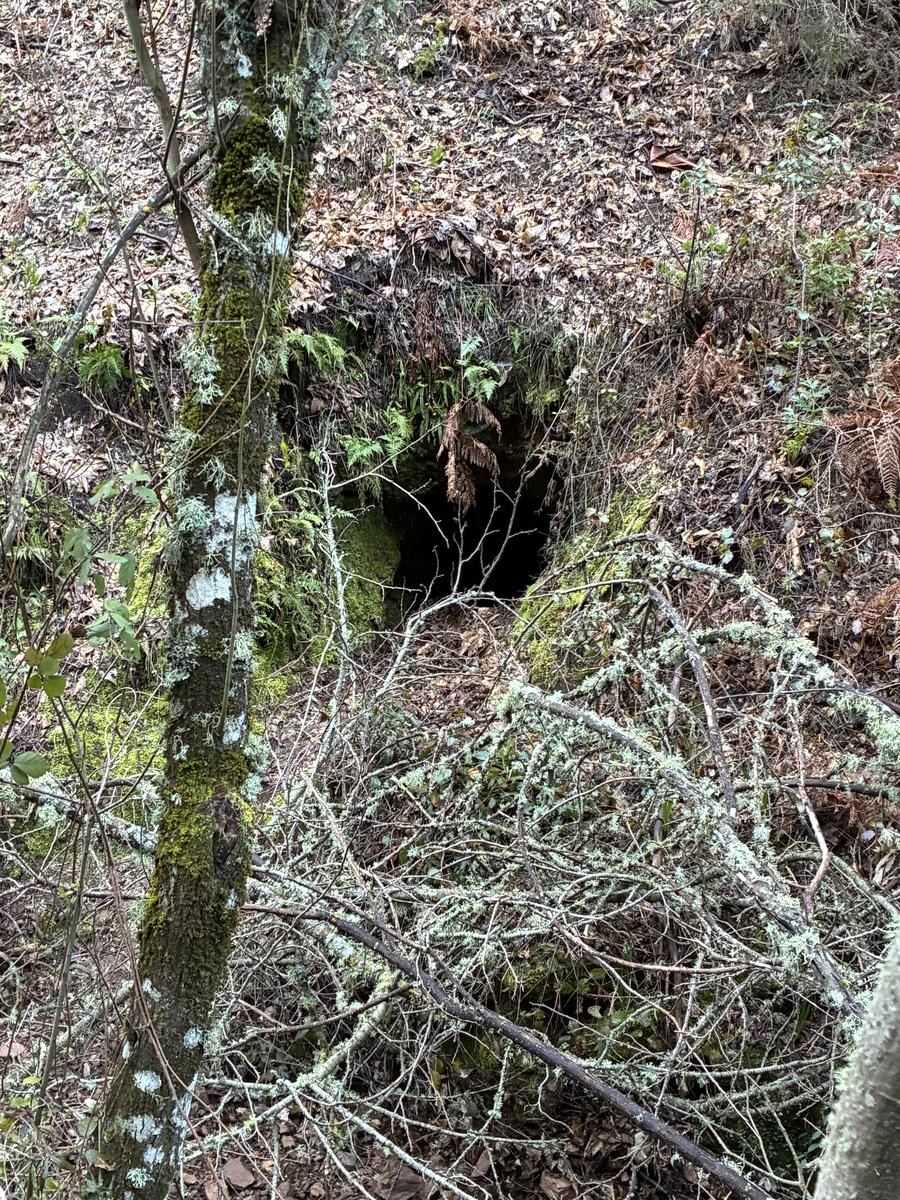
The junction described above. Have your GPS track running from the car park — this is where it matters most. If the path starts descending, you have turned the wrong way.
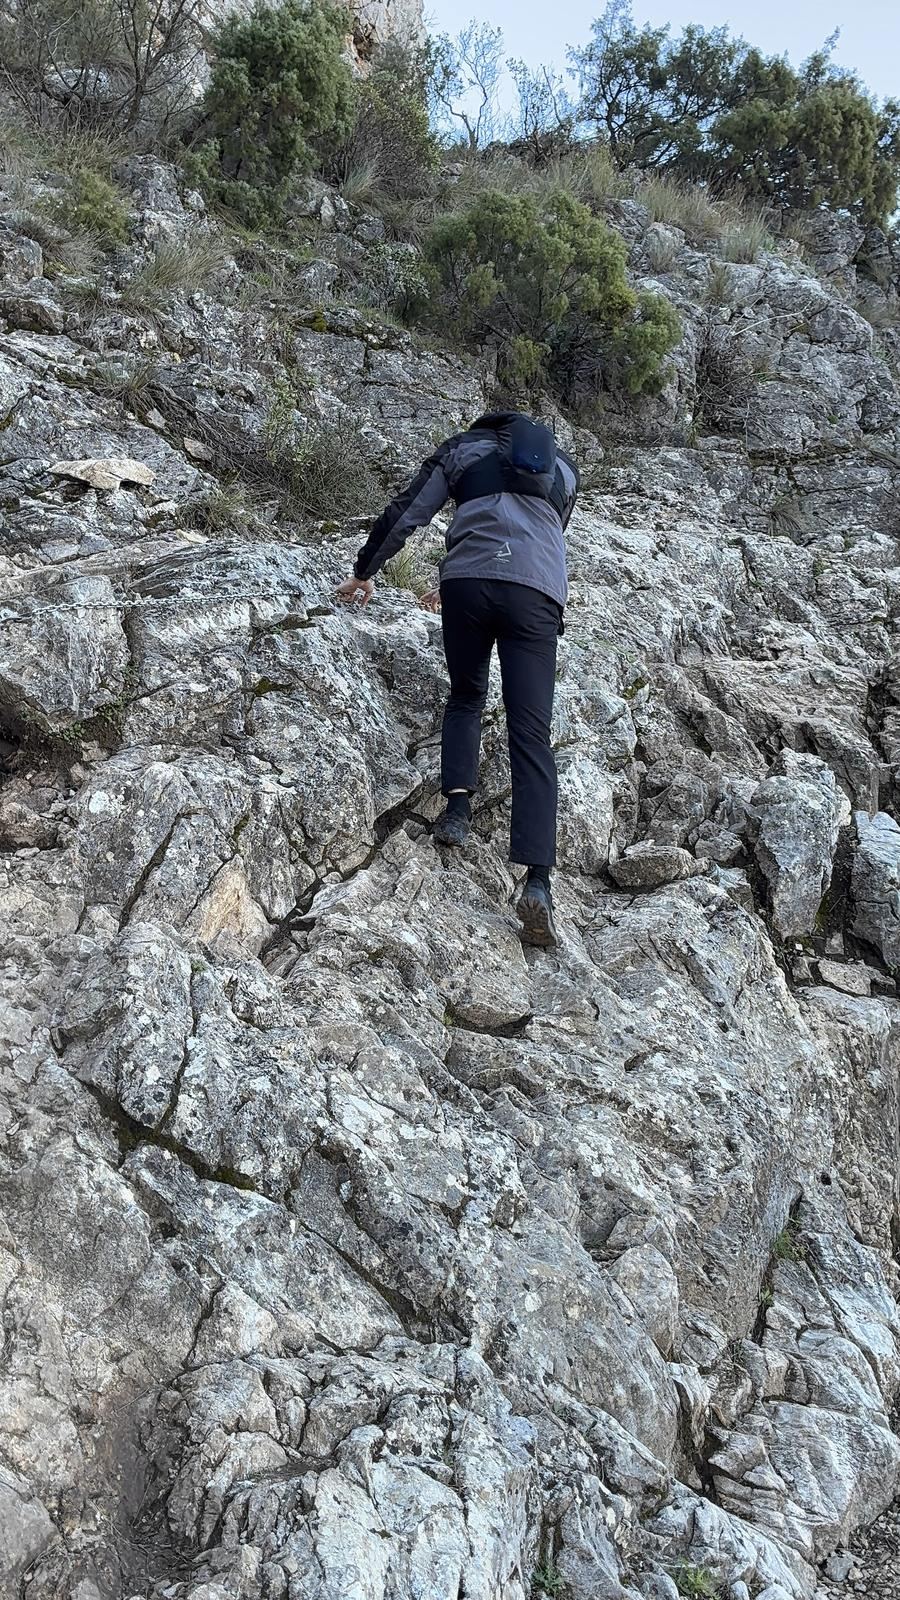
This is where the trail becomes a real mountain route. The Salto del Lobo and the Paso de Las Cadenas are narrow exposed passages with safety chains where a slip can have serious consequences. Loose limestone, steep gradient and exposed drops. The Salto del Lobo is where the technical difficulty begins, but the Paso de las Cadenas is the most demanding section of the entire route: narrow, with fixed chains and a sheer drop into the void on one side.
It is not impossible, but requires composure, proper footwear and no fear of heights. If at any point you feel unable to continue, turn back — there is no prize for reaching the summit.
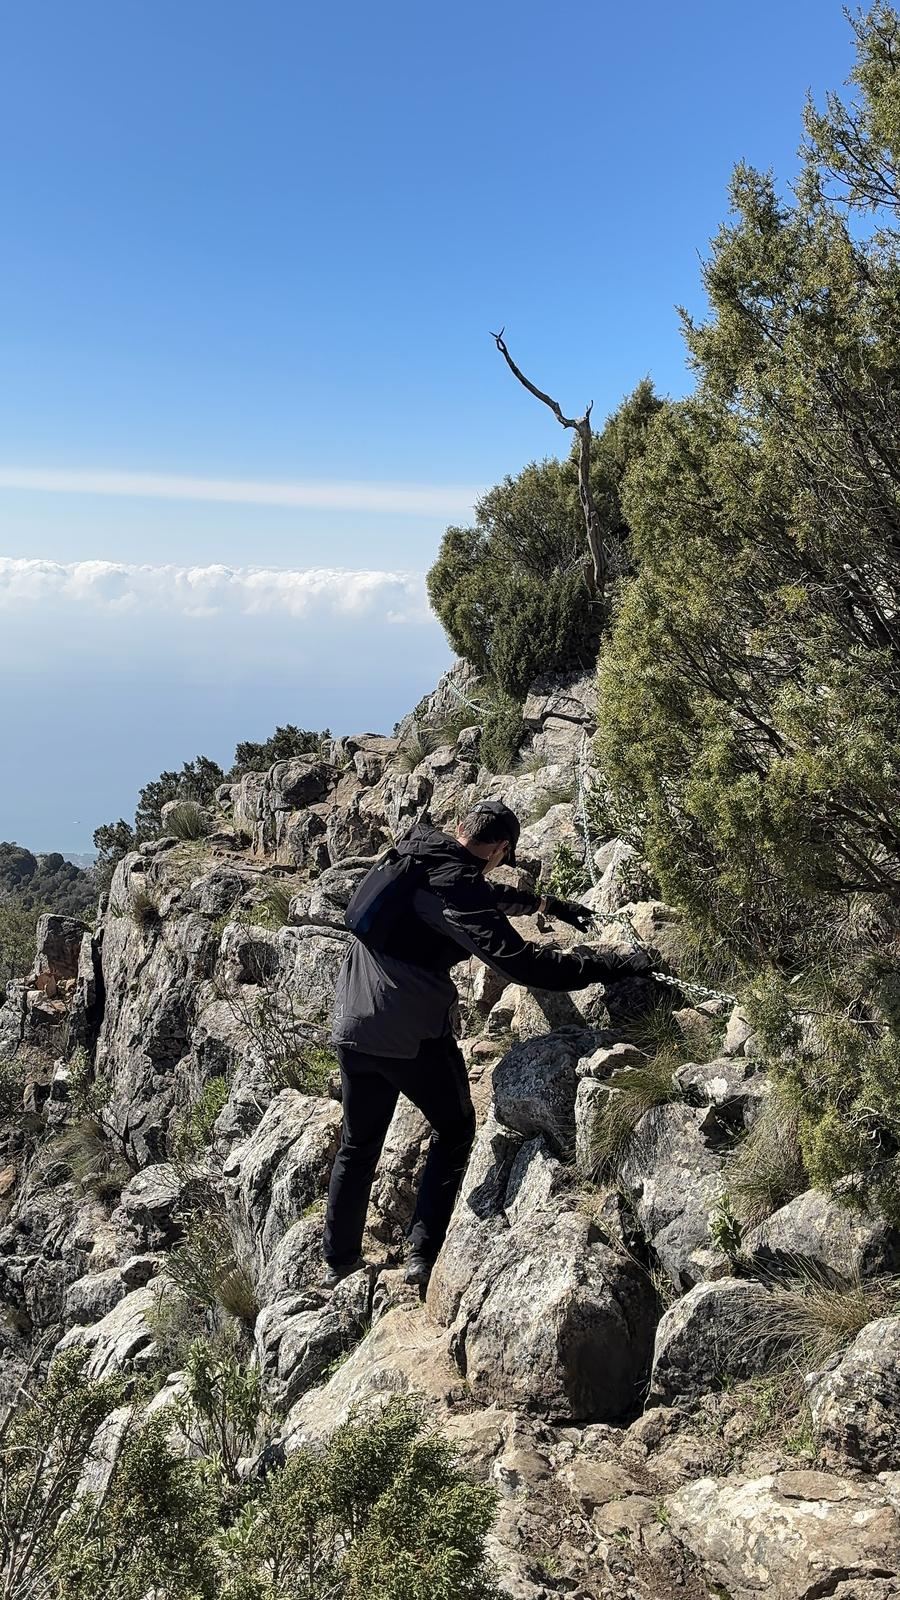
Rather not do this section alone?
The Chain Pass is exactly where most hikers wish they hadn't come up on their own. An experienced mountain guide takes you through it safely:
When you arrive, you will understand why it is worth every step. But first — here is what it actually feels like.
"It is the balcony effect. Behind you, the absolute silence of the Sierra de las Nieves — rock and pine trees. And in front, suddenly, the whole of civilisation: the electric blue Mediterranean and Marbella looking like a toy model at your feet. You feel like a giant watching over two continents."
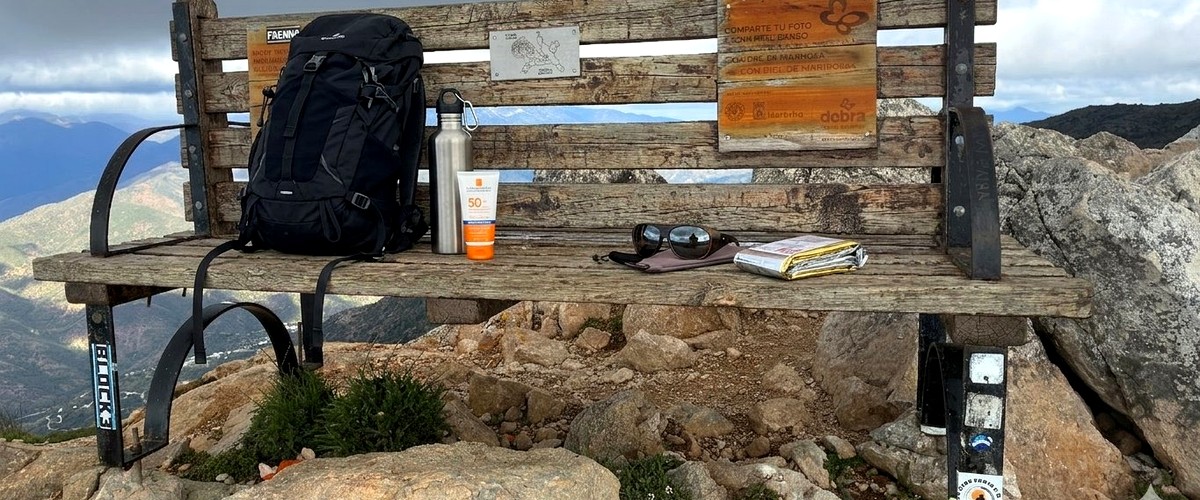
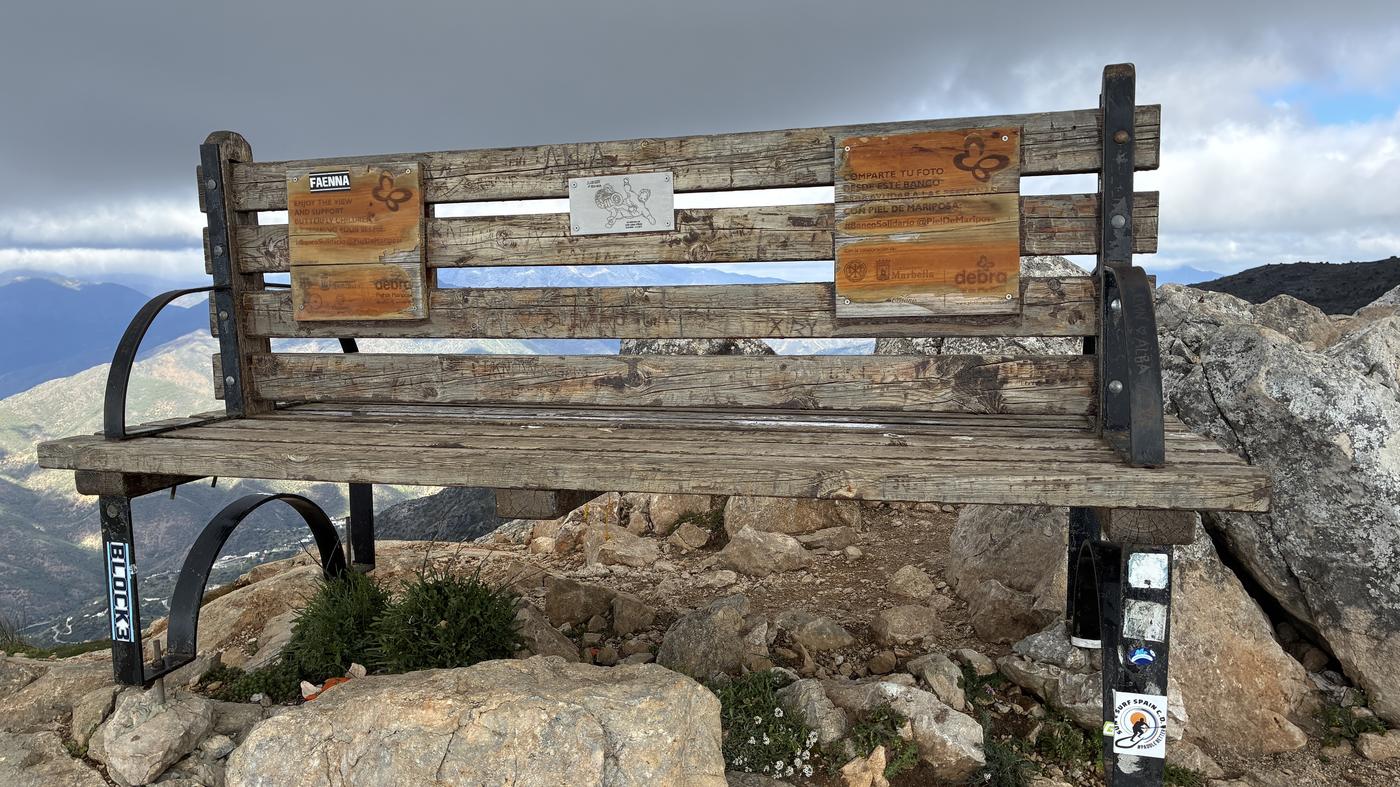
At the summit you will find the wooden bench installed by the Asociación Piel de Mariposa. On clear days, look for Africa on the horizon — less than 200km away. Gibraltar appears to the west.
Most hikers relax on the way down. Big mistake. The descent on tired legs is where most La Concha accidents happen.
Almost no mobile signal throughout the trail. If you need to call the emergency number (112), move to the highest nearby point and try. This is why you must download the GPS track offline before leaving the car park — once on the trail without internet, you cannot download it.
If you need to make a call, these are the spots on the route where you may get a signal:

The difficulty is medium-high. The route doesn't require technical climbing, but the Salto del Lobo and Chain Pass sections demand calm, good footwear and zero vertigo. The hardest part isn't physical — it's navigation when fog rolls in.
Between 4 and 6 hours round trip, depending on pace and stops. The pure ascent from the car park is around 2:30–3 hours. The descent, 1:45–2:30 hours. Add 30 minutes at the summit — you'll want to stay.
You can, but only at sunrise. In July and August temperatures top 30 °C at the summit and there's no shade or water on the entire route. If you go in summer, leave before 7:00 am and bring at least 3 litres of water per person.
No. The trail is completely free, including the Refugio de Juanar car park. La Concha is part of the Sierra de las Nieves National Park, but the trail requires no booking or permit.
Only from 10–12 years old with previous mountain experience. The Chain Pass is exposed and a slip there doesn't forgive. For younger kids, a better option is the walk to the Macho Montés viewpoint from the same car park.
Practically none. Download the GPX track before setting off and tell someone your estimated return time. In an emergency, find the highest nearby point for signal and call 112.
The route from Juanar (Ojén) is the most popular: ~12 km, mixed terrain, you reach the summit via the ridge. The route from Istán is longer (~14 km), with more elevation from the start, but much less crowded. For your first time, Juanar.
Offline maps of every junction, GPS coordinates of key points, photos of the technical sections, and a GPX track ready for your phone or sports watch. Free to download — no excuses not to be prepared.
Offline GPX track + photos of every junction · Works without internet
Have a question about the trail? contact me here
FREE
Complete PDF + GPX Track · Sent straight to your email
No spam, promised. Your email is only used to send you the guide and notify you about important updates. You can unsubscribe with one click.
Keep reading